Let’s get acquainted with Nectar Desk Tickets Interface
As soon as you’ve created the email inbox inside of your Nectar Desk account, the Ticket functionality is fully accessible. Our tickets are very user-friendly and easy to use.
Once you’ve received the new email, you’ll see the notification at the top of the page.

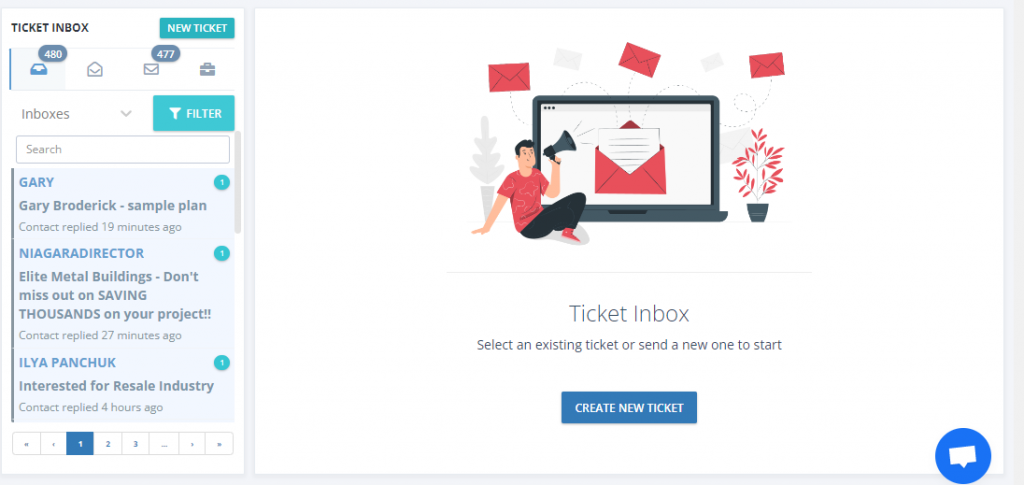
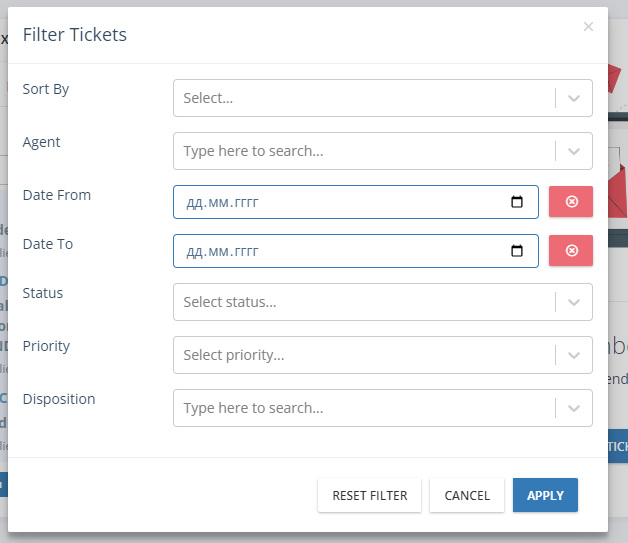
You can find All Tickets in your inbox and easily filter them if needed with the help of the FILTER button. There are options to sort your tickets by agents, data, priority status, or disposition. It takes only a few clicks to configure.
How to reply to a ticket?
Let’s see how to reply to the email you’ve received.
Once you clicked on a necessary ticket, you can find detailed information about it as well as the agent`s contacts.
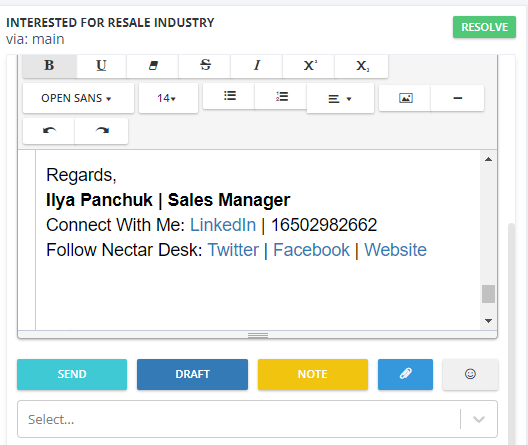
There is also a Resolve button at the top of the section.
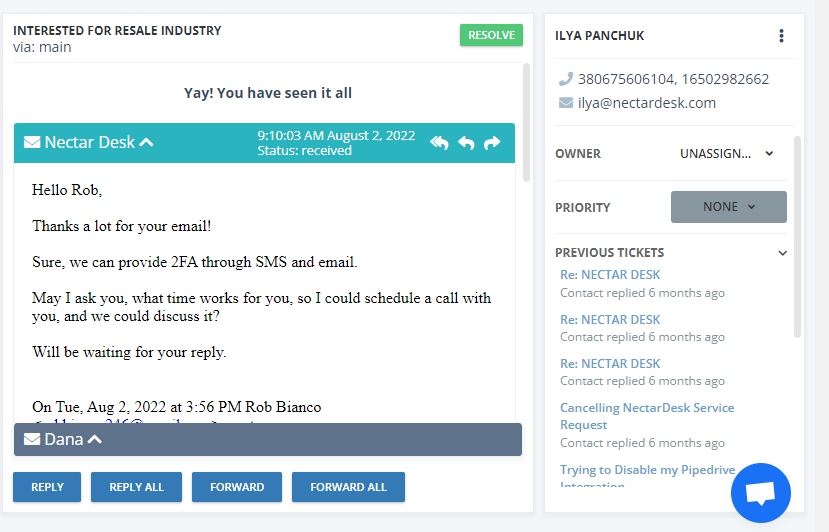
Then you will be able to Reply or Forward it. You need just to click one of the buttons at the bottom of the page.
There are such options as Send, Draft, Note, and add attachments or emojis.
Each step is intuitive and easy with the Nectar Desk Call Center Software in the Cloud.
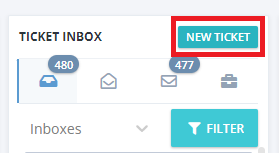
How to create a new ticket?
If you want to create a new ticket, click on the NEW TICKET button at the top of your inbox.
Then you will be able to configure your message by selecting a server. emails, CC(s), BCC(s), a subject, and canned responses.

Then type the message itself. You can also edit a text and add a picture or an attachment to your ticket at the bottom of this window. That’s it – your email is ready to go!
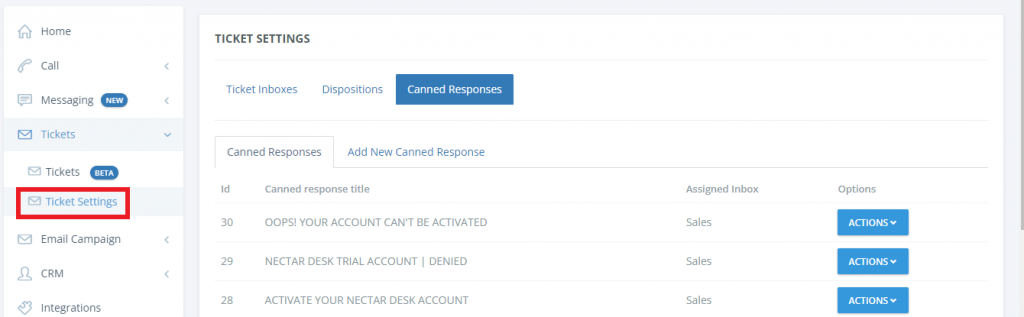
P.S. You can create numerous Canned Responses under the Canned Responses section on the left menu: