The Nectar Desk Ticket System allows ensuring efficient interpersonal communication between your customers and company staff members. This is an effective instrument to keep in touch with clients, deal with all their questions and concerns, and be at hand once your assistance is needed. These aspects allow you to increase the number of active conversion for the agent and expand sales volume.
With the help of tickets, a client may ask a question and get feedback from your company employee, moreover, upload necessary documents and get a response with a possibility of feedback through interactive messages. The Nectar Desk Ticket system makes it unnecessary to purchase additional software or use third-party email services. All the necessary operations are performed inside the system and are kept in one place. We are sure you’ll like this function, let’s dive deeper into its main options.
How to receive emails in the Nectar Desk system?
Prior to using your Nectar Desk account as a ticket inbox, check if you have a user category allowed to access Tickets and make sure the Tickets option is ticked under your account Settings (go to Settings > Agents and scroll down to Communication settings):

Also, check if the Ticket Server is chosen:

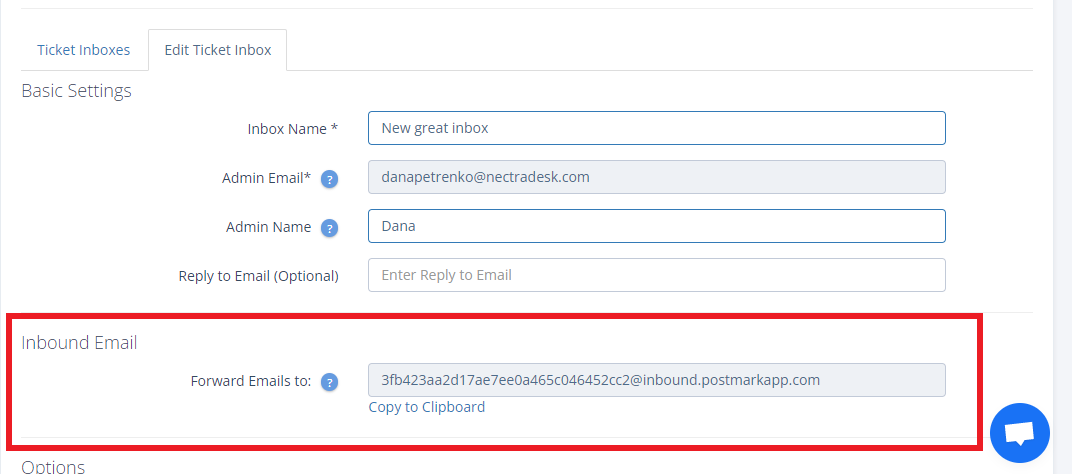
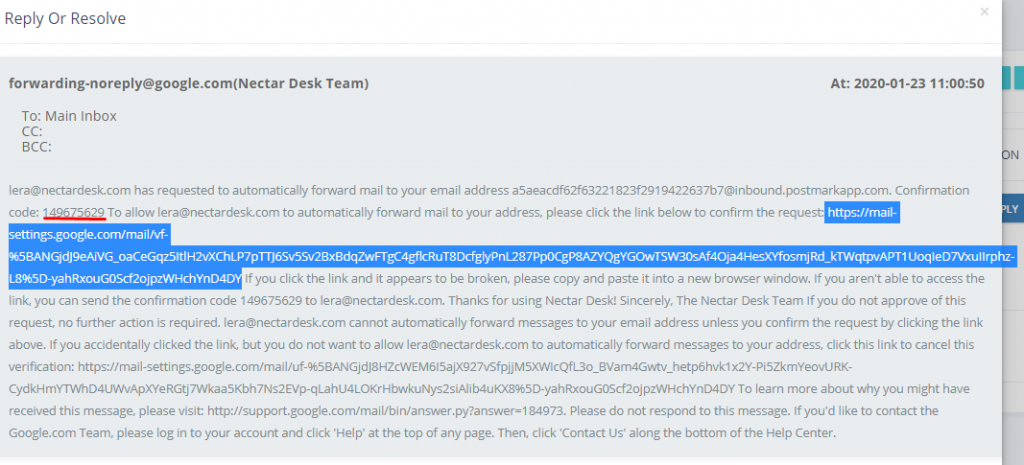
In order to handle the email conversations from your Nectar Desk account, first of all, you need to forward emails from your current inbox (Gmail, Yahoo, Yandex, etc) to the email address given in the Ticket Setting of your account:
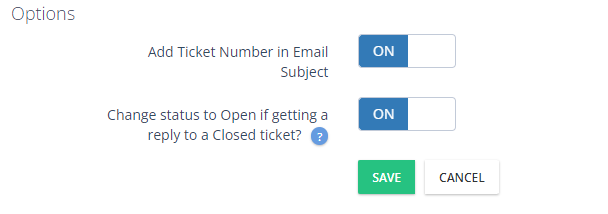
There are also two available options that allow to add a ticket number in the email subject and change the status to open if getting a reply to a сlosed ticket.
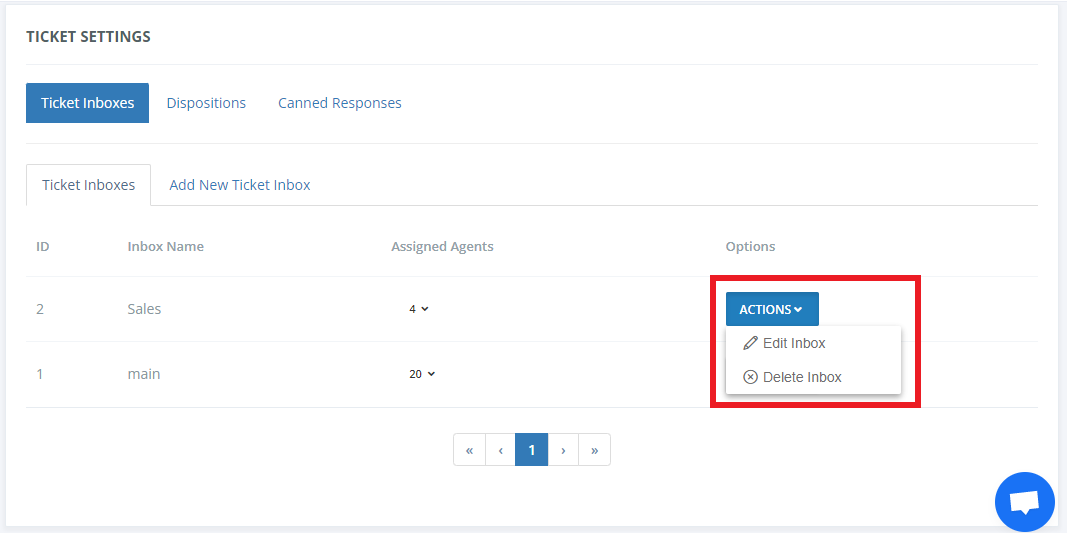
Then you will be able to Edit or Delete your ticket inboxes in your account Nectar Desk account. Just click on the Actions button to neat the necessary ticket inbox:
 Hooray! Your email inbox is now merged with Nectar Desk. Have a good working day:)

