Sometimes it happens so that you don’t need to contact the particular client in terms of Calling Campaigns as you’ve already had a conversation with him. Or you’re going to initiate an Email Campaign based on the previously uploaded list, but you know exactly there are some contacts who shouldn’t be reached.
For such purposes, there should be an easy solution, as to edit your contact list or to re-upload it into the system may waste your time.
That is why we would like to present to you Nectar Desk Do Not Contact option.
What does the Do Not Contact list mean?
The Do Not Contact list is a list of personal phone numbers or email addresses that shouldn’t be reached within calling, texting, or (and) email channels.
How to set up?
To turn on the Do Not Contact function in your account, first of all, enable it under the CRM section. Then please follow the steps below:
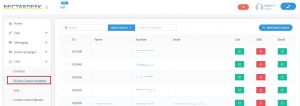
1. Go to CRM ->> Do Not Contact Numbers at the left menu and press ADD CONTACT(S) button:

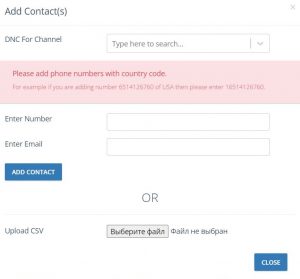
2. Choose the channel where you want to enable the DNC:

3. Enter the phone number to block outbound calls or SMS, or email addresses in order to skip this contact once you initiate the Email Campaign.
If you have a few contacts, there is no need to type the information manually: you can upload the previously created list.

4. Moreover, you can add a contact list in a CSV format.

5. Confirm your action:

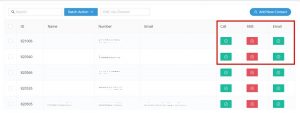
That’s it, now you can see your number in the DNC Numbers list as well as remove them with the help of the Batch Action button:

If you decide to dial this number, our system won’t let you do it until you remove it from the list.
You’ll be notified:
Please note:
The Do Not Contact function works for calls, calling campaigns, texting, SMS campaigns, and email campaigns.


