In this article, we will discuss the seemingly pretty clear but meantime so necessary benefits of using the Nectar Desk Dial Pad. Let’s go!
What is a Dial Pad?
Dial Pad is the small window in your Nectar account for placing calls. It’s a kind of the Keypad on your cellphone, but the more advanced one – making calls is not the only thing you can do here.
Let’s take a quick look at its options.
To open the Dial Pad, click the blue button on the top right of your page:

Here you can see the gear symbol  – these are Dial Pad Settings. You can choose the headsets to use with Nectar, select Ringtone device, or test the audio quality.
Please note that once you’ve created the account with Nectar Desk, all devices are selected by default for your convenience and the Dial Pad is ready to go.
Now let’s make a call.
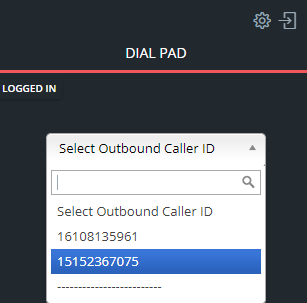
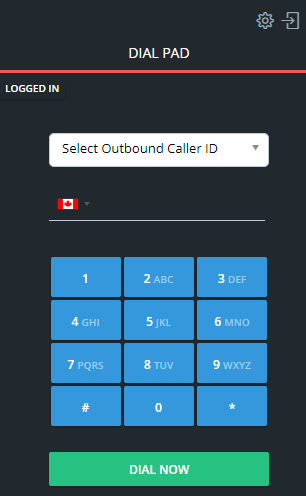
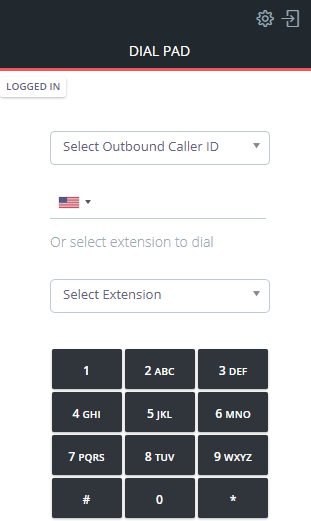
To call your clients, first of all, please choose the number you’re going to make a call from pressing the Select Outbound Caller ID button. All the numbers you have in your account will be displayed in the drop-down.
Check the article to learn how to add more numbers
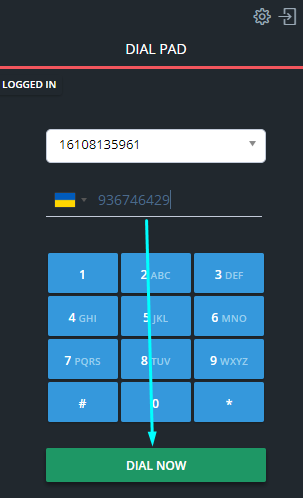
Now you need to type your client’s number. Previously select the country code – with Nectar Desk you can call to anywhere in the world, and click Dial Now.
Here is how the Dial Pad looks like when the call is answered:
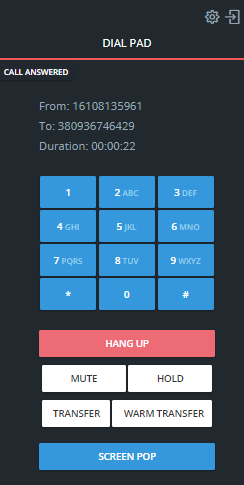
You can:
– hang up the call
– mute so that your customer won’t hear you
– put your customer on hold – waiting music will be playing on your customer’s end so you could check the required information and get back to the conversation once ready
– transfer the call to another agent in the system, extension or external phone number
– make a warm transfer and have a 3-way conversation
Pressing the Screen Pop button, all the information for a call will appear on your desktop.
Check our article about Activities and add the new ones directly from your Dial Pad window.
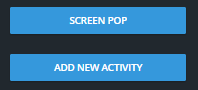
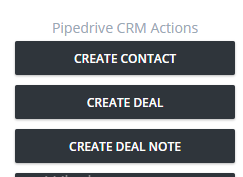
One more cool option was created for the accounts integrated with the CRM solutions – you can create contact, deal, or activity in a few clicks from your Nectar page and it will be automatically synchronized with your CRM and displayed there:
Customize your Dial Pad
You can always customize your Dial Pad in Settings – General:

Here you can choose the default Outbound Caller ID if most of your calls are made from the same number, select your Default Calling Country, and much more.
Outbound Caller ID Selection works for Local Presence.
Moreover, you can always change your dialer style under the UI Settings:

Hope now your work with Nectar Desk is more pleasant 🙂

