Automated Call Campaigns have long been a popular lead generation tactic, primarily because they create their own content that in turn can be used for inbound marketing, lead generation and can help you handle more calls without the live agents available and gather the information that can be further used for your business growth.
Nectar Desk Automated Call Campaigns often serve to identify qualified leads based on a prospect’s answers to certain questions. These answers can, in turn, be analyzed with the help of Nectar Desk report, which can be easily uploaded to your PC once the campaign is initiated. Let dive deeper into the setup procedure of the Automated Campaign.
How to set up the Automated Campaign
Please follow the steps below to create a new Automated Call Campaign:
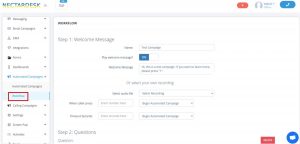
1. Go to Automated Campaigns > Workflow and fill in the fields.
First of all, set up the Welcome message your clients will hear once the system dials them. You can enter the text of your message manually or upload the previously recorded MP3 file.
2. Then you need to choose action for the button pressed. For example, when the caller presses “1”, he can be either routed to IVR or Ring Group, hang up the call or move further and begin the Automated Campaign.
If there is no button pressed, you can set up timeout seconds with the necessary action.

3. Other steps imply the wording of the questions, followed by various actions (Repeat Question/Hang up/Route to Ring Group/Route to IVR).
4. In order to end the workflow, you may set up the End Message to play and don’t forget to save 🙂
After the Workflow setup is done, you need to go to the Automated Campaigns section and fill in the form.
Name the campaign and enable the “Automatically pick an outbound number” option if needed (Local Presence). Thanks to it, the Nectar Desk system will automatically choose the Outbound ID from the numbers you have in your account so that it could match the area code of your clients’ hometown or state.
Select default outbound number (Caller ID) if you want your campaign calls to be initiated each time from the same number. Then select the previously uploaded to the CRM list of contacts and select the workflow you’ve set up before.
In case the automated call reached voicemail, you may choose the Machine detection action and either hang up the call or leave a voicemail message.
Predictive Dialer
If you enable Agent Call Ratio and select Ring Group to determine agents, Nectar Desk Predictive Dialer will automatically dial your contacts from the list only in case there is an agent available so that your customers could be connected with the live agent to discuss their questions. You can set up the number of concurrent calls per the available agent and our system will dial multiple numbers at the same time to ensure maximum agent utilization.
Learn more about the Predictive Dialer.
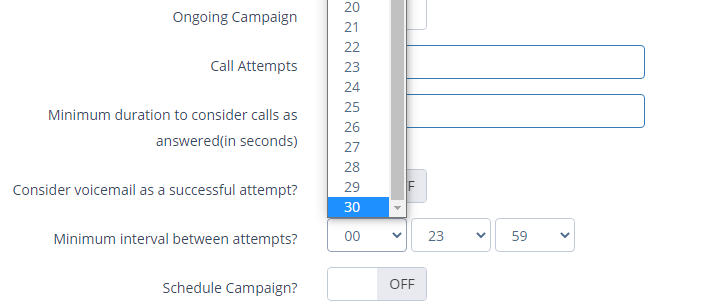
If you want our system to dial the newly added to the list contacts, you can enable the Ongoing Campaign option.
It also lets you set up the number of Call Attempts to the customer and intervals between them.
The maximum interval between calls can be up to 31 days, set the needed one for you and our system would dial the customer again after the required time period.

Remember to schedule the campaign and set up Business Hours.
In case you select dispositions to block calls, our system won’t dial the numbers marked with the chosen disposition codes so these clients won’t be disturbed.
That’s it, the Automated Call Campaign is fully set up now 🙂
P.S. You can always edit your campaign, pause it once needed or see the detailed campaign report:

In case of any question please send us an email to [email protected] and we’ll be glad to assist you further 🙂


