Call History: secure storage of all your calls

If you would like to have access to your calls and find all the information about agents involved, date, duration, and many others in one place, then hurry up: Call History is your cup of tea 🙂
With the help of Call History, you’ll have the possibility to find all the information about your calls. So let’s have a look at the options it contains.
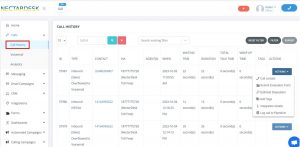
The first column named ID stands for the sequential number of your call.
The type of the call may vary depending on the call direction: inbound answered/not answered, outbound answered/not answered. You can also see if any calls were abandoned or overflowed to voicemail or even check if they were transferred to another agent or phone number.
Contact field gives you the full name of your client, while Via field is the number in your Nectar Desk account, with the help of which the call was initiated.
You can check on the agents responsible for the call in the Agent(s) field. Moreover, you’ll have an opportunity to see when exactly the call was initiated, waiting time which means the time prior to the conversation, its duration, and total talk time.
You may also leave a tag for the call. It’s a kind of note so that using it you can easily find the required call with the help of the Call History filter.
Action field allows you to call back to the client, to send him a text message, to leave a disposition note, to see the other agents involved in the call if any and to listen to the call recording or to upload it to your personal computer.
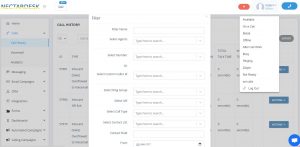
Furthermore, you may filter by the required data on the same page. The usage of the Call History filter is extremely comfortable, as you can easily filter by agents, numbers, ring groups, IVR, call type, the phone number of your client, date, tag, and the result of the call (disposition).

Now you are aware of the available Call History options and can easily manage them in order to take everything under control.
Here is the brief video summarizing this article, you can’t miss it 🙂


